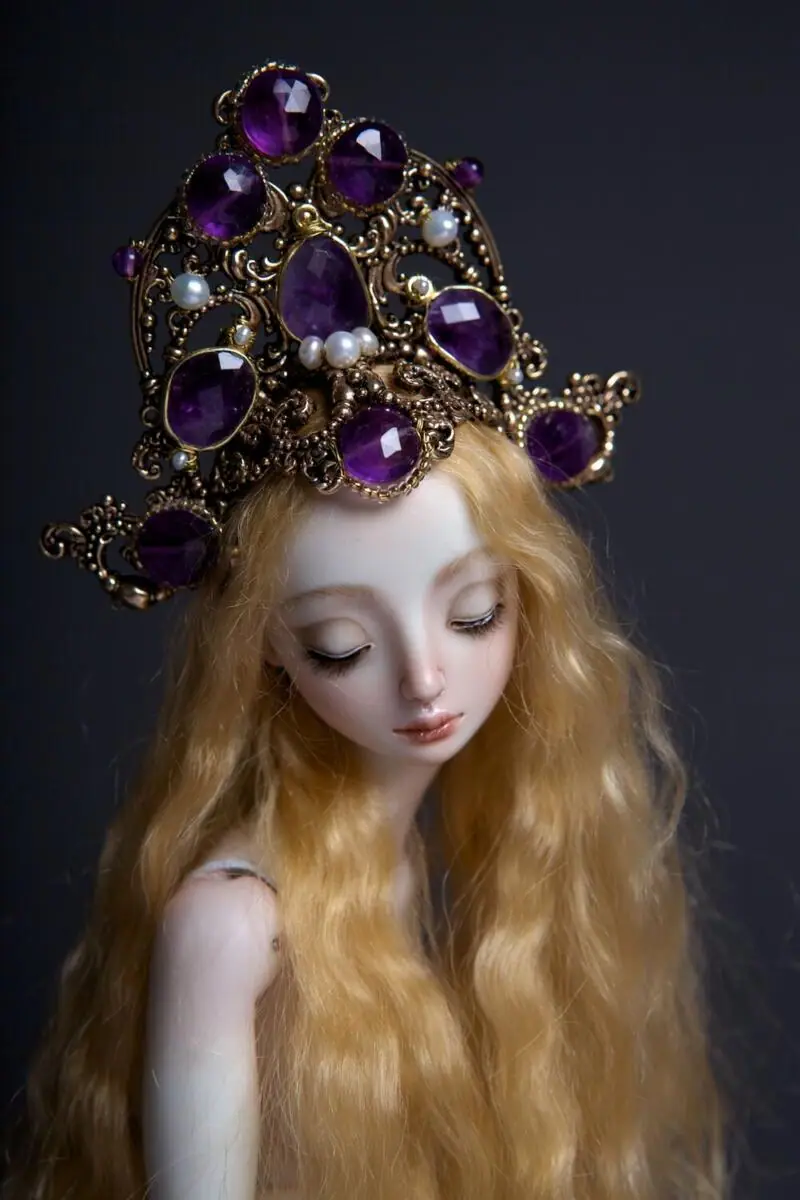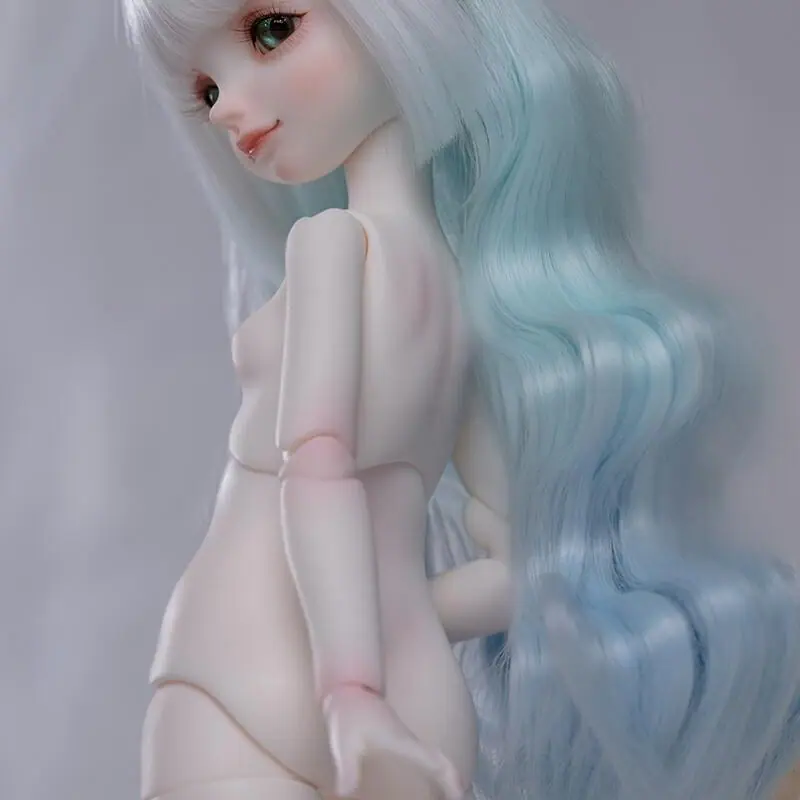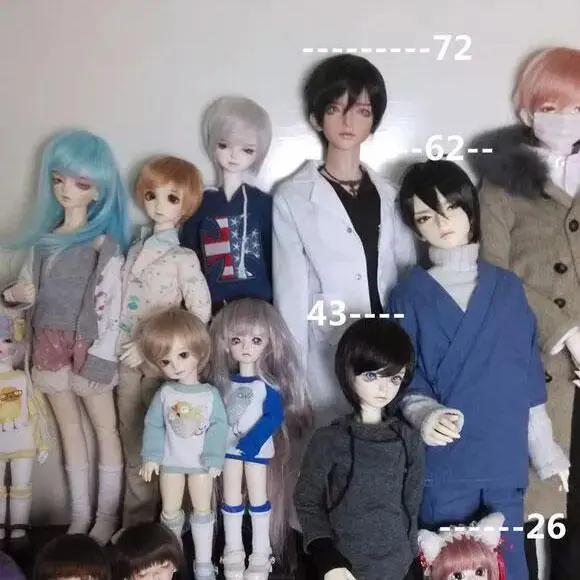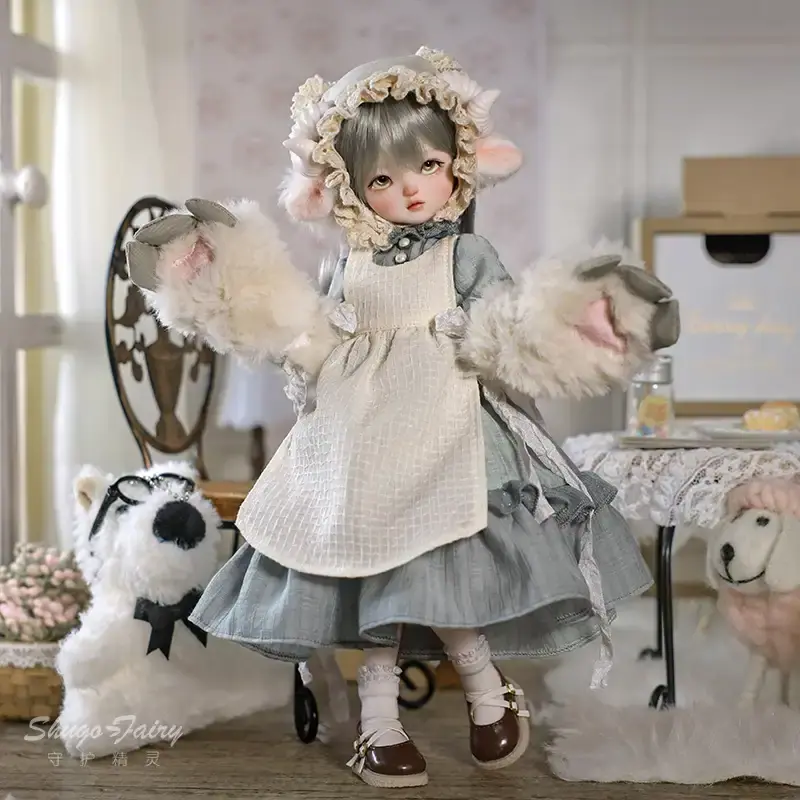
Collector resource in the CATDOLL library.
There is something deeply satisfying about hand-crafting a garment for your Ball-Jointed Doll. Unlike mass-produced outfits, a handmade vintage dress carries your personal touch — the careful choice of fabric, the precision of each seam, the tiny bow that takes twenty minutes to tie just right. If you’ve been wanting to create a vintage-style dress for your BJD but didn’t know where to start, this guide is for you.
We’ll walk through the entire process from start to finish: choosing materials, drafting your pattern, constructing the bodice, building the skirt, and adding the decorative details that give a vintage aesthetic its unmistakable charm.
What You’ll Need: Materials & Tools
Before you cut a single thread, gather your supplies. Working at the miniature scale of a BJD means precision matters more than in standard garment sewing — small errors are harder to hide. Having everything at hand before you begin will make the process far smoother.
Fabric:
- Main fabric — Cotton lawn, silk charmeuse, dupioni silk, or fine linen work beautifully for vintage aesthetics. Choose fabrics that drape well and don’t fray aggressively. For a 1/3 scale (SD) BJD, plan for approximately 0.5–0.8 metres of fabric.
- Lining fabric — A lightweight cotton batiste or organza keeps the bodice structured without adding bulk.
- Tulle or crinoline — For a petticoat underneath the skirt if you want that full, romantic silhouette.
Notions & Trimmings:
- Antique lace trim (for collar, cuffs, or hem — the heart of the vintage look)
- Narrow velvet or satin ribbon
- Small decorative buttons, imitation pearl beads, or seed beads
- Hook-and-eye closures or Velcro (Velcro is easier for regular dressing/undressing)
- Thin elastic (3–5mm width)
Tools:
- Sewing machine with a fine needle (size 60/8 or 70/10 for delicate fabrics)
- Sharp fabric scissors and small embroidery scissors
- Water-soluble fabric marker
- Straight pins and fine hand-sewing needles
- Iron and mini ironing board
- Pattern paper or tracing paper
- Ruler and flexible tape measure
Step 1: Measure Your Doll and Draft Your Pattern
This step is the foundation of a well-fitting dress, and it cannot be rushed.
Key measurements to take:
- Chest circumference
- Waist circumference
- Hip circumference (if the dress will be fitted through the hips)
- Shoulder width
- Torso length (nape of neck to waist)
- Desired skirt length (waist to hem)
- Arm length and upper arm circumference (if the dress has sleeves)
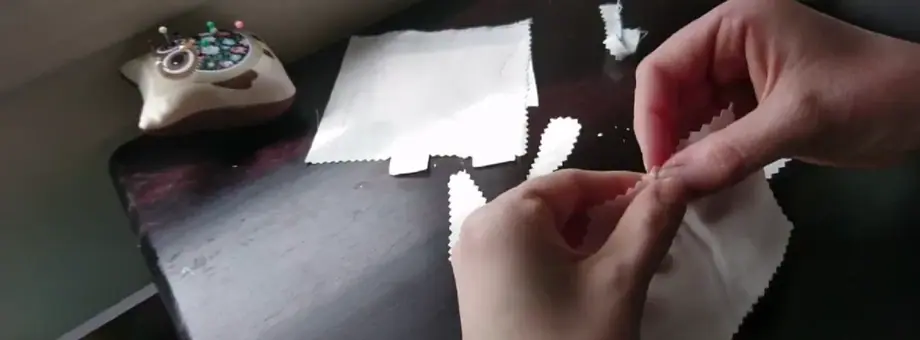
Once you have your measurements, draft your pattern pieces on paper. The main pieces you’ll need are:
- Front bodice (cut on the fold)
- Back bodice (cut in two mirror pieces to allow for a back opening)
- Sleeves (if applicable — a classic puffed or bishop sleeve is very vintage)
- Skirt — typically a rectangle or slightly flared trapezoid for a vintage silhouette
Add a ¼-inch (6mm) seam allowance around all pieces. At doll scale, a ¼-inch allowance is standard and keeps seams neat without adding unnecessary bulk.
Pro tip: Always make a test toile (mock-up) from cheap muslin before cutting into your good fabric. Fit it on your doll and adjust the pattern before committing.
Step 2: Cut Your Fabric
Lay your fabric flat and smooth, right side down. Place your pattern pieces according to the grain line marked on each piece. For vintage-style fabrics with a print or texture, pay attention to pattern matching.
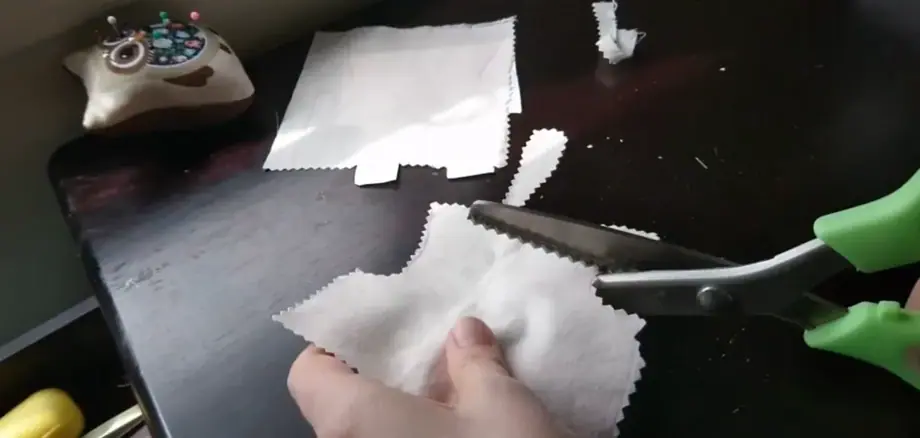
- Cut the front bodice on the fabric fold.
- Cut two back bodice pieces mirrored from each other.
- Cut the skirt — for a gathered skirt, cut a rectangle approximately 2–2.5x the waist measurement in width, and your desired length plus 1.5cm for hem allowance.
- Cut lining pieces for the bodice using the same pattern.
Before removing the pattern pieces, transfer all markings — darts, notches, and seam lines — using your water-soluble marker.
Step 3: Construct the Bodice
The bodice is the most technically demanding part of a miniature garment. Take your time here.
3a. Sew the front bodice and its lining together: Place the front bodice and its lining right sides together. Pin along the neckline and armholes. Sew, then clip the curved seams carefully (small snips every 5–8mm) to allow smooth curves when turned right-side out. Turn right-side out and press flat with a warm iron.
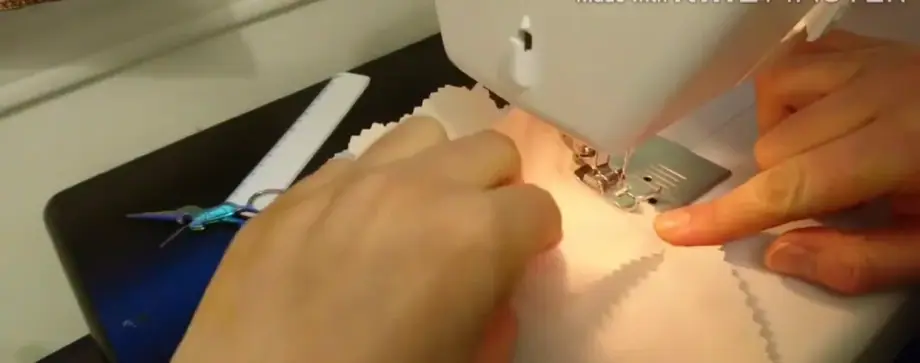
3b. Construct the back bodice pieces: Repeat the same process for each back bodice piece with its corresponding lining. Leave the center back edges unlined to keep them clean for the closure.
3c. Join front and back at shoulders and sides: With right sides together, sew the shoulder seams, then the side seams. Press all seams open. Topstitch around the neckline and armholes for a polished finish.
3d. Attach the sleeves (optional but recommended for vintage looks): Sew two rows of basting stitches along the sleeve cap. Ease the sleeve into the armhole by gently gathering the basting stitches to distribute fullness evenly. Pin in place and sew. Vintage bishop sleeves can be gathered further at the wrist and finished with a lace-trimmed cuff.
Step 4: Build the Skirt
A full gathered skirt is the hallmark of vintage doll fashion. Here’s how to get it right.
4a. Hem the skirt first: Before gathering, hem the bottom edge of your skirt piece. Fold up ⅜ inch, then fold again to conceal the raw edge, and press. Sew the hem down close to the inner fold. This is much easier to do before the skirt is gathered.
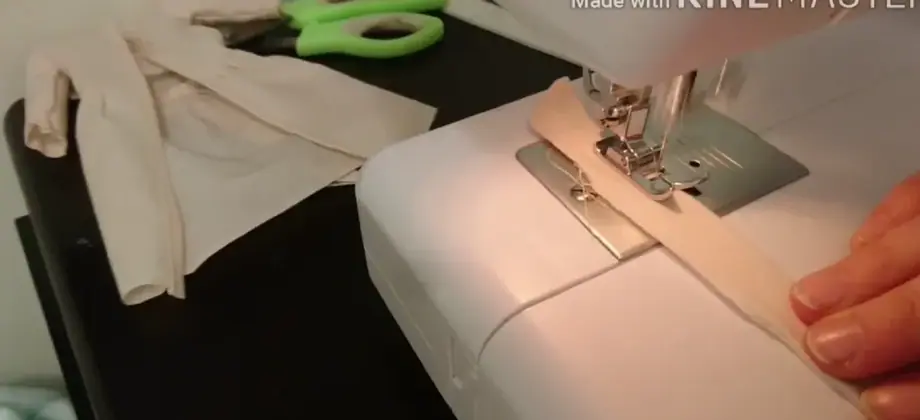
4b. Gather the skirt waist: Set your sewing machine to the longest stitch length and loosen the upper thread tension. Sew two parallel rows of basting stitches along the top edge of the skirt, ⅛ inch and ¼ inch from the edge respectively. Pull the bobbin threads from both rows simultaneously to gather the fabric. Distribute the gathers evenly until the top edge matches the waist measurement of your bodice.
4c. Make the petticoat (optional): For the full vintage silhouette, a tulle petticoat adds beautiful body beneath the skirt. Cut strips of tulle and gather them onto a narrow waistband, layering two or three tiers. Attach a small hook-and-eye or tie closure at the back.
Step 5: Join the Skirt to the Bodice
With right sides together, pin the gathered skirt to the bottom edge of the bodice, aligning the center front and side seams. Sew the seam, then finish the raw edges with a zigzag stitch or serger to prevent fraying. Press the seam allowances upward toward the bodice, then topstitch along the seamline for a cleaner, more polished finish.
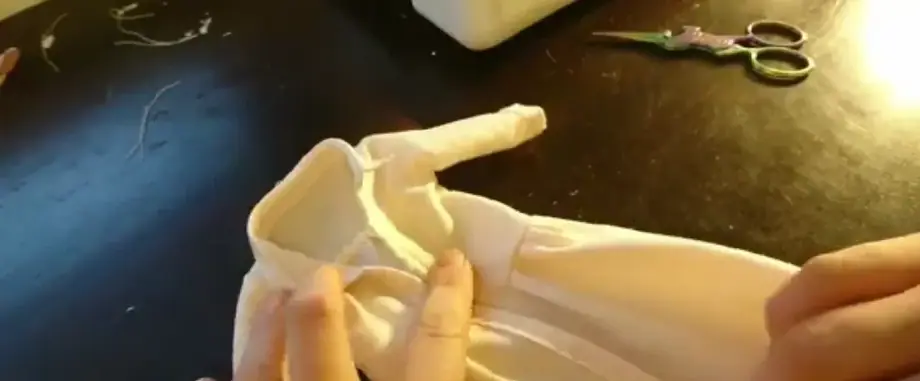
Step 6: Add the Back Closure
For BJD garments, the back closure needs to be secure enough to stay closed during posing, yet easy enough to open without damaging the dress.
- Velcro: The most practical option. Sew short sections of hook-and-loop tape at 1.5–2cm intervals along the back opening. This is beginner-friendly and durable.
- Snaps: Offer a cleaner look than Velcro and work well for lighter-weight fabrics.
- Tiny buttons and buttonholes: The most authentic vintage-look closure, but requires patience at this scale. Use your machine’s buttonhole foot for consistency.
Step 7: Add Vintage Decorative Details
This is where your dress truly comes alive. Vintage aesthetics are defined by their ornamentation — the more intentional the detail, the more beautiful the result.
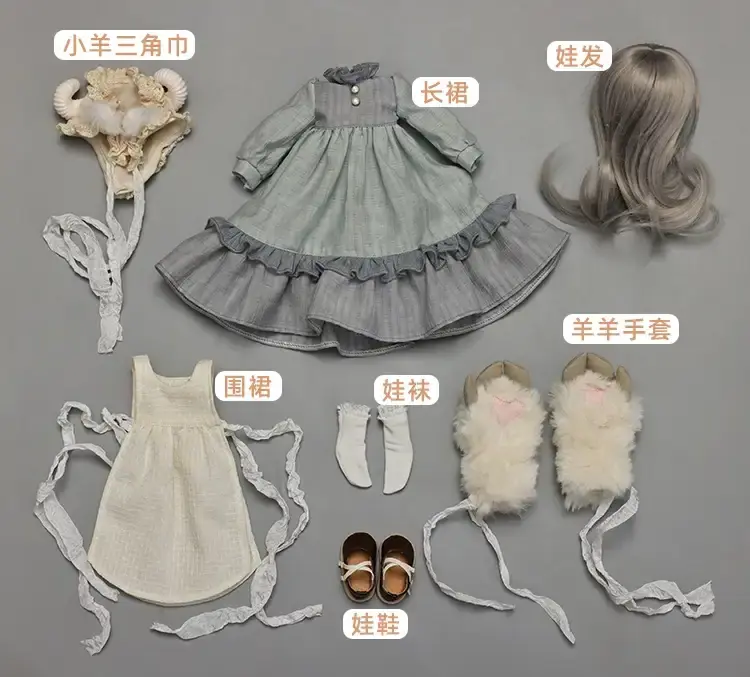
Classic vintage embellishments to consider:
- Lace trim: Apply antique or ivory lace along the hem, collar, cuffs, and neckline. Attach by hand-stitching with small, invisible stitches.
- Ribbon sashes: A narrow velvet or grosgrain ribbon tied at the waist in a bow is immediately elegant and period-appropriate.
- Pearl beading: Sew a row of seed pearls or imitation pearl beads along the neckline or bodice center for a timeless bridal or Edwardian effect.
- Pintucks and pleats: Add pintucks to the bodice front before assembly for a Victorian-style texture.
- Fabric flowers: Create tiny roses from bias-cut fabric strips and cluster them at the waist or neckline.
- Decorative buttons: Small covered buttons down the center front give the illusion of a traditional button-front closure.
Finishing touches: Press the entire garment carefully using a pressing cloth to protect delicate fabrics. Check all seams and loose threads, and secure any hand-stitched embellishments. Dress your BJD and pose her — you’ve just made something truly one of a kind.
Tips for Success
- Work slowly. At doll scale, rushing leads to crooked seams that are very visible.
- Press every seam as you go. Pressing is the secret to professional results, even at miniature scale.
- Use the right needle. A size 60/8 or 70/10 universal or microtex needle prevents snags in delicate fabric.
- Test your fabric. Some vintage-style fabrics (especially silks) behave unpredictably. Always test a scrap first.
- Don’t skip the lining. A lined bodice looks exponentially more finished and helps the garment keep its shape over time.
Elevate Your BJD’s Wardrobe with Knewland
Creating beautiful handmade clothes is only one part of the magic — the right accessories make all the difference. At Knewland (knewland.com), we specialize in premium custom accessories for BJD, Blythe Doll, Reborn Doll, and more. From delicate hand-crafted jewelry and miniature handbags to bespoke shoes, hats, and seasonal sets, our collections are designed to complement exactly the kind of vintage, romantic, and artistic aesthetics that BJD enthusiasts love.
Whether you’re dressing your doll for a photo shoot, a display, or simply the joy of it, Knewland’s accessories are the finishing touch that brings your vision together. Explore our full range and discover custom options tailored to your doll’s unique character — because every doll deserves a complete look.
👉 Shop now at knewland.com and find the perfect accessories to complete your BJD’s vintage ensemble.