Collector resource in the CATDOLL library.
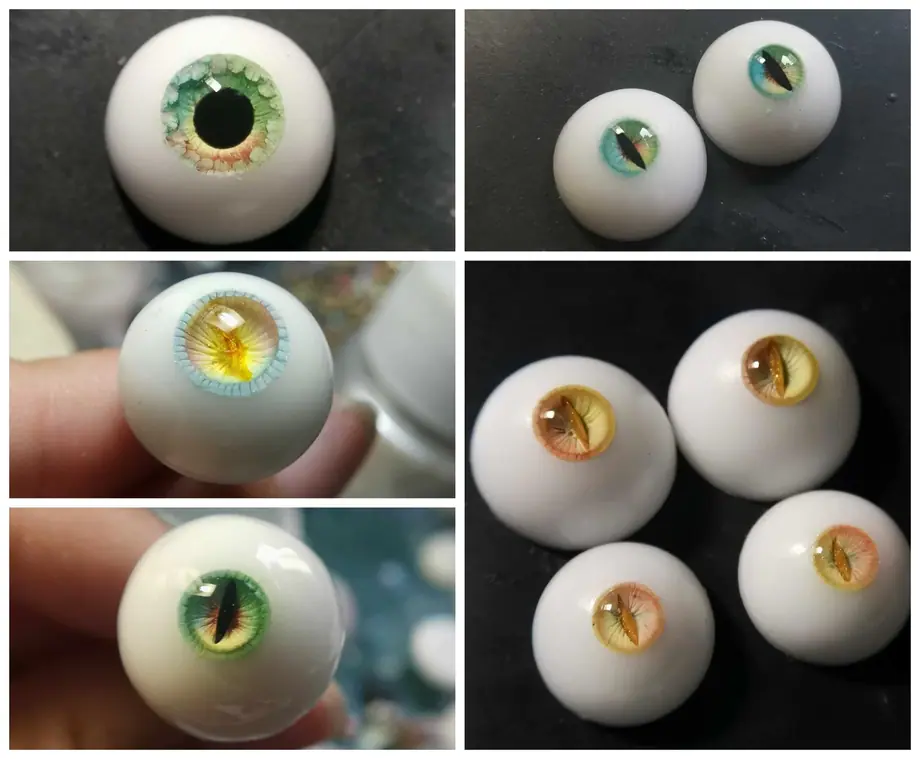
When it comes to bringing a BJD (Ball-Jointed Doll) to life, nothing makes a more dramatic impact than the eyes. A well-chosen pair can transform a doll’s entire personality — shifting the mood from dreamy and ethereal to fierce and otherworldly in an instant. While there are many beautiful commercial options available, making your own resin eyes opens up a world of creative freedom that no catalog can match.
The good news? DIY resin eye-making is far more accessible than it looks. With the right materials, a little patience, and this step-by-step guide, even complete beginners can produce professional-quality results. Let’s get started.
What You’ll Need: Materials & Tools Checklist
Before you begin, gather all your supplies. Having everything within reach before you start mixing resin is essential — once resin is activated, the clock is ticking.
Core Materials:
- Two-part UV resin or epoxy resin (clear, low-viscosity formula recommended for eyes)
- Hemispherical silicone molds in your desired eye size (common BJD sizes: 10mm, 12mm, 14mm, 16mm, 18mm, 20mm)
- Alcohol inks or resin pigment pastes for iris coloring
- Glitter, mica powder, or holographic foil for depth and sparkle effects
- Printed iris images (optional, for hyper-realistic designs) — print on thin paper or transparency film
- UV lamp (if using UV resin) or a dust-free workspace with good ventilation (for epoxy)
- Toothpicks, silicone mixing sticks, and small mixing cups
- Fine-tipped tweezers
- Wet/dry sandpaper in grits 400, 800, 1500, and 3000
- Plastic polish or resin buffing compound
- Mold release spray (optional but helpful for clean demolding)
Safety Essentials:
- Nitrile gloves
- Safety glasses
- A well-ventilated workspace or a respirator mask rated for chemical vapors
Pro tip: Invest in a dedicated silicone work mat. Resin doesn’t stick to silicone, making cleanup significantly easier.
Understanding Eye Sizes: Getting the Fit Right
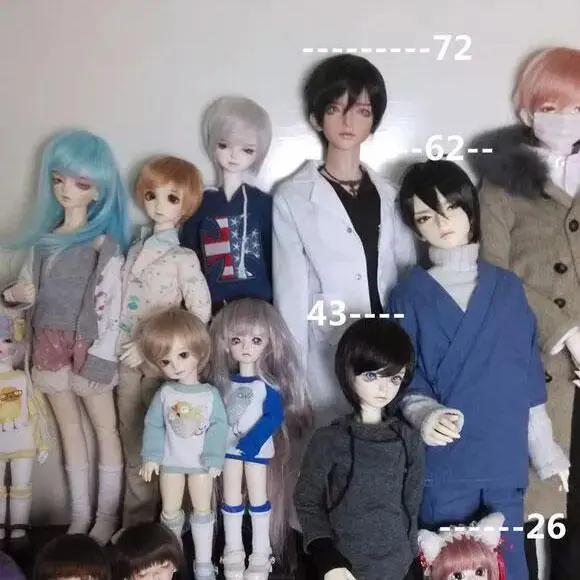
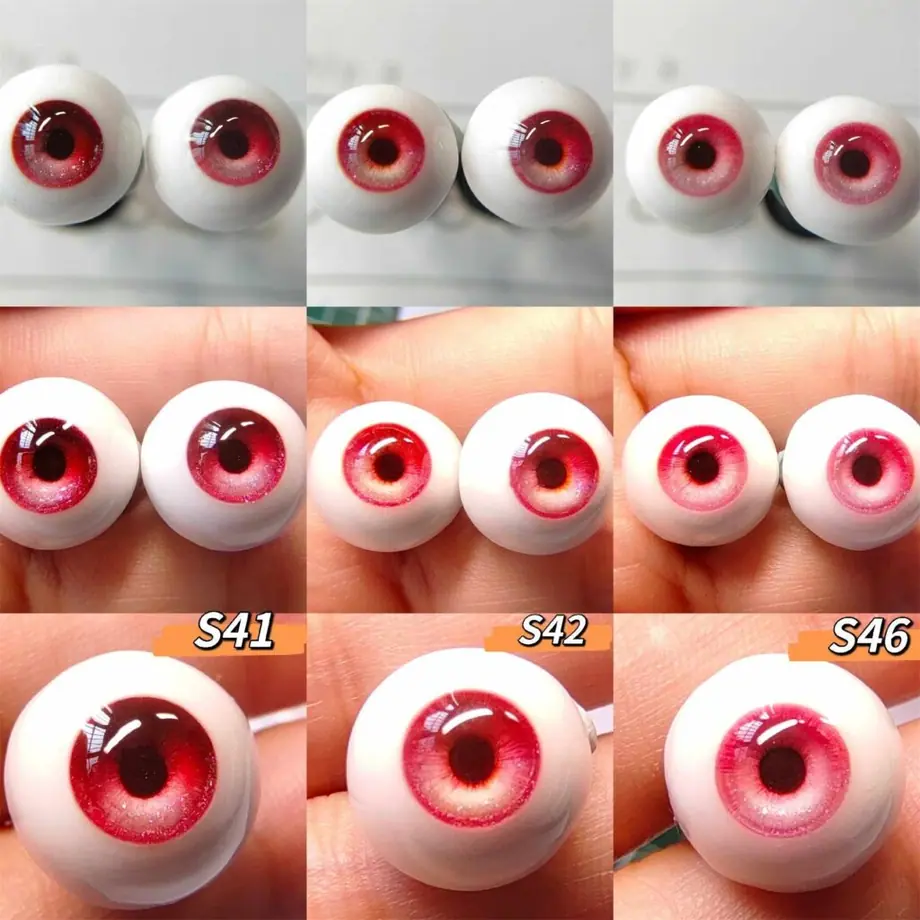
Before you pour a single drop of resin, confirm the correct eye size for your specific doll. BJD eye sizing is measured in millimeters and refers to the diameter of the finished eye globe.
Common size guidelines:
- SD (Super Dollfie, ~60 cm): 16mm–20mm
- MSD (~45 cm): 14mm–16mm
- YoSD / 1/6 BJD (~26–27 cm): 10mm–12mm
- Tiny BJDs (under 20 cm): 6mm–10mm
Always consult your doll’s official specifications or measure the eye well directly with calipers for the most accurate result. A poorly sized eye will sit unevenly in the socket and detract from the final look no matter how well it’s crafted.
Step-by-Step: Making Your First Pair of BJD Resin Eyes
Step 1: Design Your Iris
This is the creative heart of the project. You have two main approaches:
Option A – Painted Iris (Freehand) Use a fine brush and acrylic paint or alcohol ink to paint an iris design directly onto a small circle of white cardstock cut to match your mold diameter. Include a pupil, radiating iris lines, and any color gradients you want. Allow to dry completely before use.
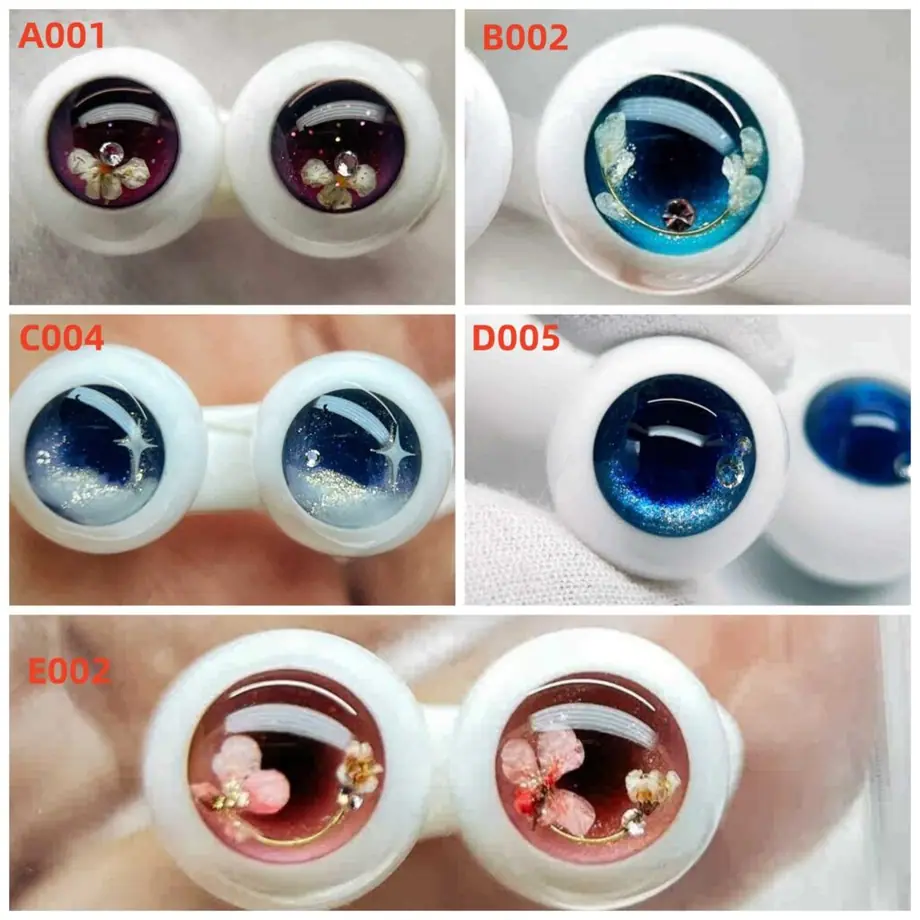
Option B – Printed Iris Design your iris digitally using free tools like Canva, Procreate, or Photoshop. Scale it to the correct diameter, print it on regular paper or transparency film, and cut it out carefully. This method produces highly consistent, intricate designs and is ideal for realistic or fantasy styles.
Seal your iris cutout with a thin layer of Mod Podge or clear nail polish and let it dry fully. This prevents ink bleed when resin is poured over it.
Step 2: Prepare Your Mold
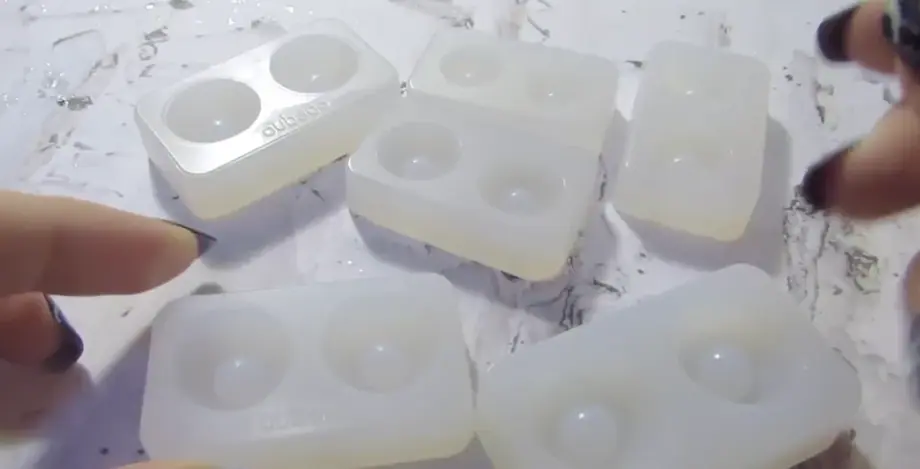
Lightly spray your silicone hemispherical mold with mold release and wipe away any excess. This step is optional with high-quality silicone molds but recommended for beginners to ensure clean demolding.
Place your mold on a flat, level surface. Uneven placement will cause the pupil to shift off-center in the final eye.
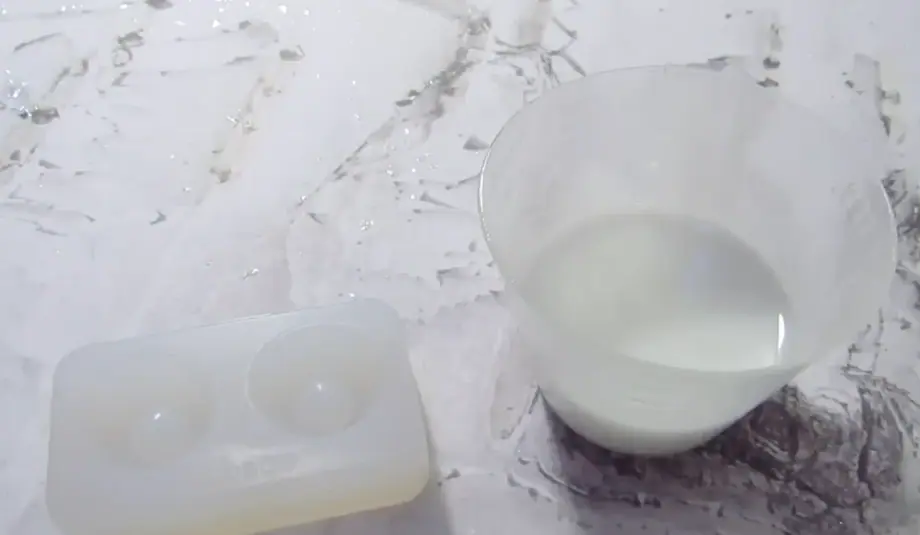
Step 3: Mix and Pour Your Base Layer
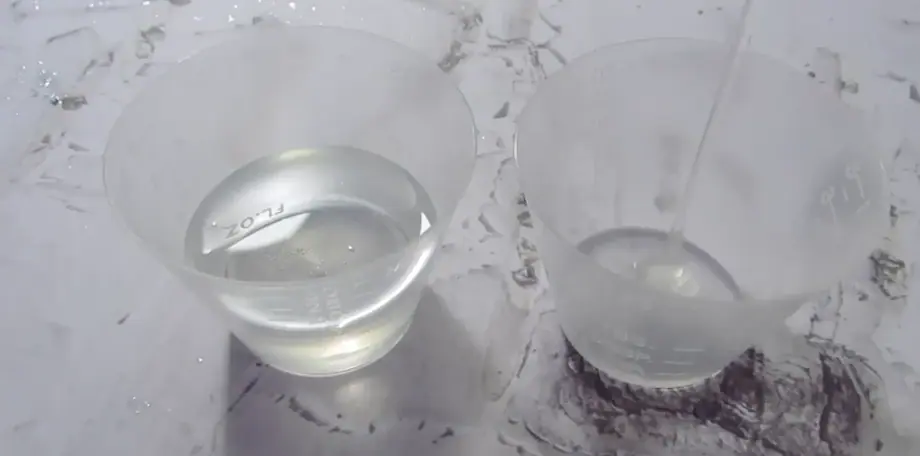
Mix your resin according to the manufacturer’s instructions — precision matters here. For epoxy resin, the mixing ratio (usually 1:1 or 2:1 by volume) must be exact to achieve full cure.
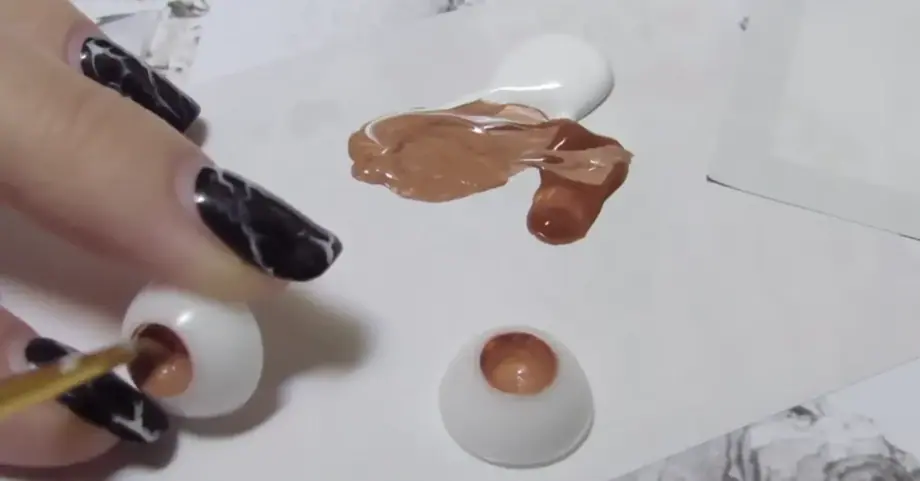
- Add a small amount of white pigment paste to your mixed resin to create the sclera (white of the eye) base.
- Pour a thin layer — roughly 1–2mm deep — into each mold cavity.
- Use a toothpick to pop any surface bubbles. A brief pass with a heat gun or lighter held several inches away also eliminates bubbles effectively.
- Allow this layer to reach a gel stage (tacky but not fully cured) before proceeding. For UV resin, cure under your UV lamp for 60–90 seconds until just set.
Step 4: Place the Iris
Using fine-tipped tweezers, carefully center your iris cutout face-down onto the gel-stage base layer. Press gently to adhere. The iris should sit flat with no lifting at the edges.
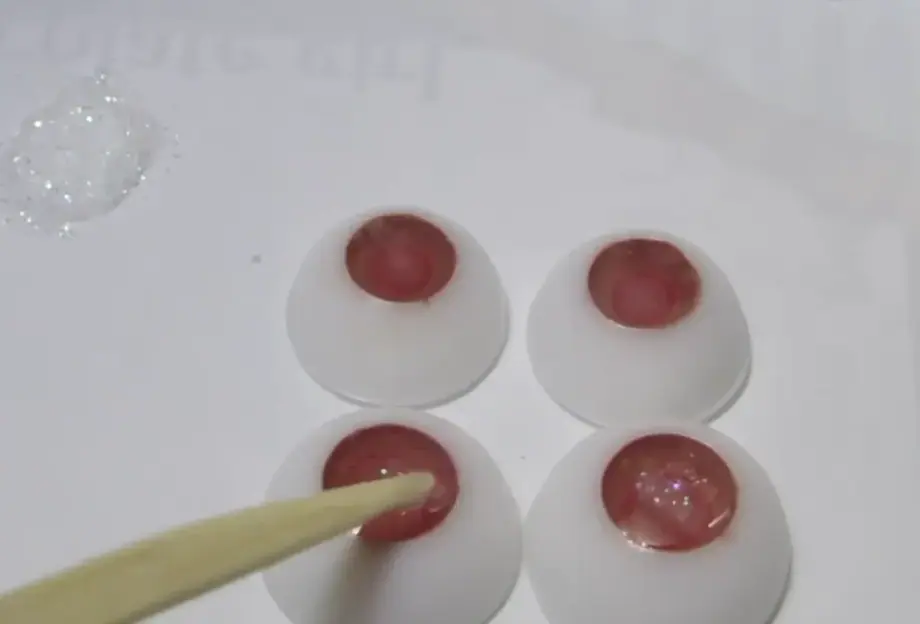
If you are working with alcohol ink instead of a cutout, use a toothpick to place a concentrated drop of ink at the center of the gel layer and allow it to bloom naturally outward — this creates a beautiful, organic iris effect.
Step 5: Pour the Dome Layer
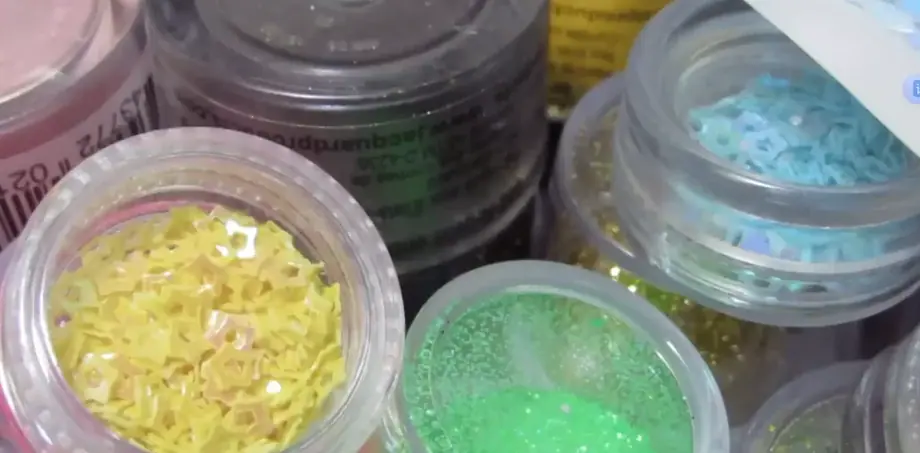
Mix a fresh batch of clear resin (no pigment this time) and carefully fill the mold cavity to the top, completely encasing the iris layer. This clear dome is what creates the glassy, three-dimensional depth that makes resin eyes so striking.
- Add a pinch of mica powder or ultra-fine glitter to the clear layer for added luminosity if desired.
- Eliminate surface bubbles as before.
- For epoxy resin, cover loosely with a dust-free dome or box and allow to cure per manufacturer guidelines (typically 24–72 hours at room temperature). For UV resin, cure under the lamp in 2–3 minute intervals until fully hardened.
Step 6: Demold and Inspect
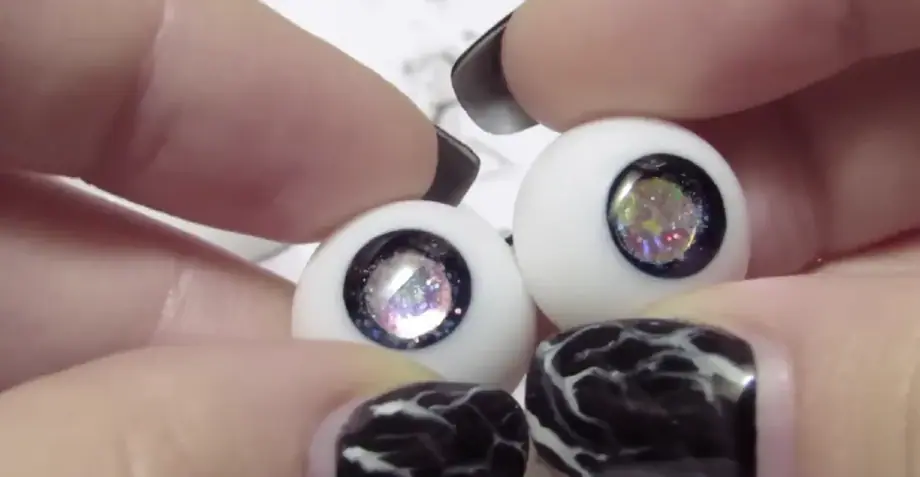
Once fully cured, gently flex the silicone mold to release each eye. Inspect for:
- Clarity — cloudiness indicates incomplete cure or moisture contamination
- Centering — iris should be perfectly centered
- Surface quality — minor imperfections on the flat back face are normal and easily sanded
Step 7: Sand and Polish
This step elevates your eyes from “handmade” to “professional finish.”
- Begin wet sanding the flat back of each eye with 400-grit sandpaper, using water as a lubricant.
- Progress through 800 → 1500 → 3000 grit, keeping the surface wet throughout.
- Finish with a small amount of plastic polish or resin buffing compound applied with a soft cloth, using small circular motions until the surface is crystal clear.
The dome (top surface) generally does not require sanding if cured cleanly, but can be polished if any cloudiness is present.
Step 8: Install in Your Doll
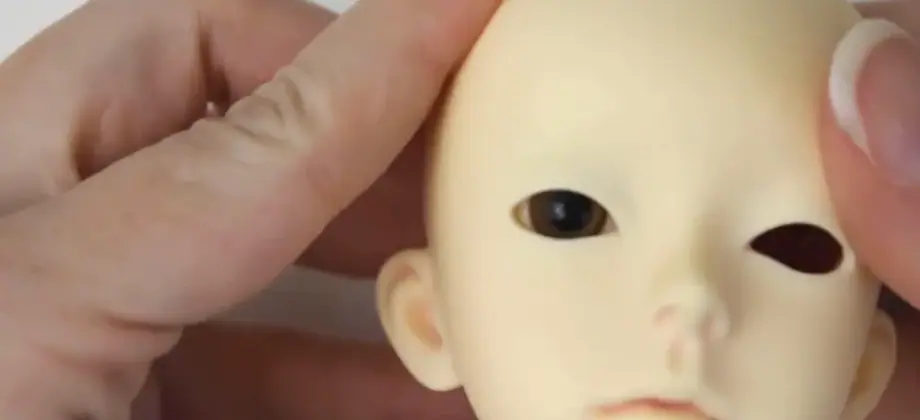
BJD eyes are typically set using eye putty (a soft, removable adhesive putty available from most BJD retailers). Roll a small piece of putty, press it into the eye socket, then gently position and press your resin eye into place. Adjust the angle and gaze direction through the doll’s head opening using a skewer or specialized eye-setting tool before closing the head.
Common Beginner Mistakes to Avoid
- Rushing the cure time — undercured resin remains tacky and may yellow prematurely
- Skipping bubble removal — trapped air bubbles are visible in the finished eye and cannot be corrected after curing
- Incorrect mixing ratios — always use a digital scale for epoxy resin; volumetric measuring is less accurate
- Working in a humid environment — moisture causes resin to cure cloudy (a phenomenon called “amine blush”)
- Skipping the sanding progression — jumping from 400 to 3000 grit leaves micro-scratches that prevent full clarity
Elevate Your BJD’s Look with Knewland
✨ Complete Your Doll’s World with Custom Accessories
Creating your own resin eyes is just one piece of the artistry that makes BJD collecting so deeply personal. At Knewland, we celebrate that creative spirit with a curated range of handcrafted, custom accessories designed for BJDs, Blythe dolls, Reborn dolls, and more. From delicate miniature eyes and bespoke outfit accessories to themed prop sets and made-to-measure pieces, every Knewland accessory is crafted with the same attention to detail you pour into your own work.
Whether you’re dressing a freshly assembled custom or refreshing an existing favorite, we’re here to help your vision come to life.
👉 Visit knewland.com to explore our full collection and place a custom order today. Because every doll deserves accessories as unique as she is.