Collector resource in the CATDOLL library.
Installing eyes in ball-jointed dolls (BJDs) is a foundational skill for any enthusiast. The final eye position dramatically influences a doll’s expression, character, and overall realism. Despite how delicate the process might seem, mastering eye installation doesn’t require advanced skills — just proper preparation and technique. In this guide, we’ll cover everything from understanding BJD eye sizing to executing a secure installation, along with tips for long-term eye care.
Section 1: Understanding BJD Eye Basics
Before you begin installing, you need to understand what eye measurements mean and how BJDs accept eyes.
1.1 Eye Size Breakdown
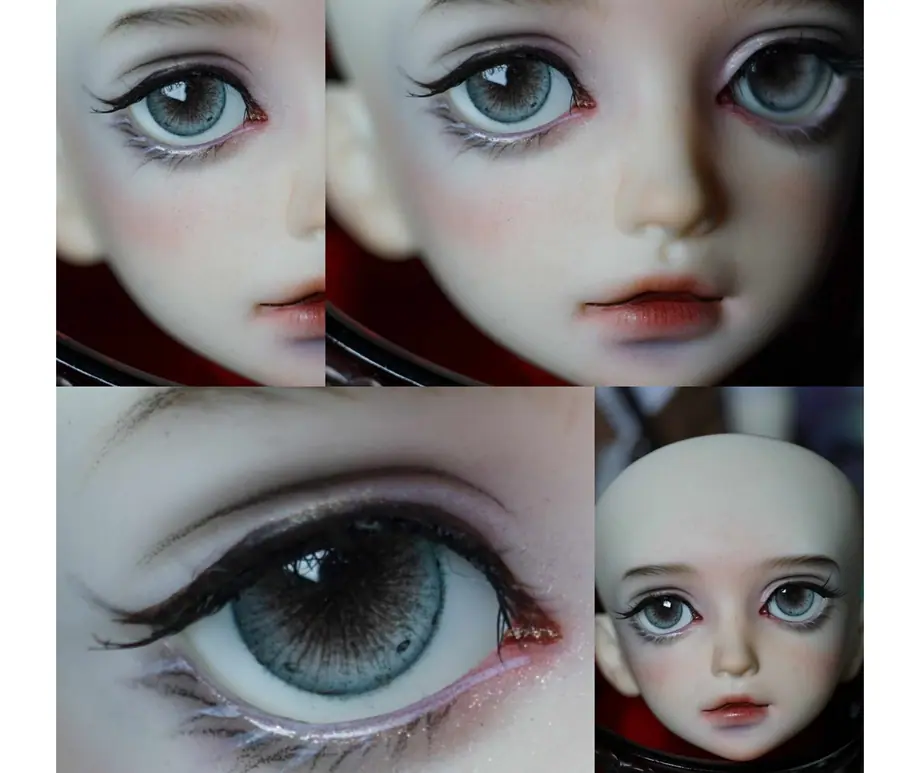
BJD eyes are typically listed with two dimensions — for example 14-7mm. The first number refers to the total width of the eyeball, while the second number refers to the iris diameter (the colored part).
Proper measurement ensures the eye sits flush and centered in the eye socket. Too small and the eye can shift; too large and it may not fit without modification.
1.2 Eye Materials
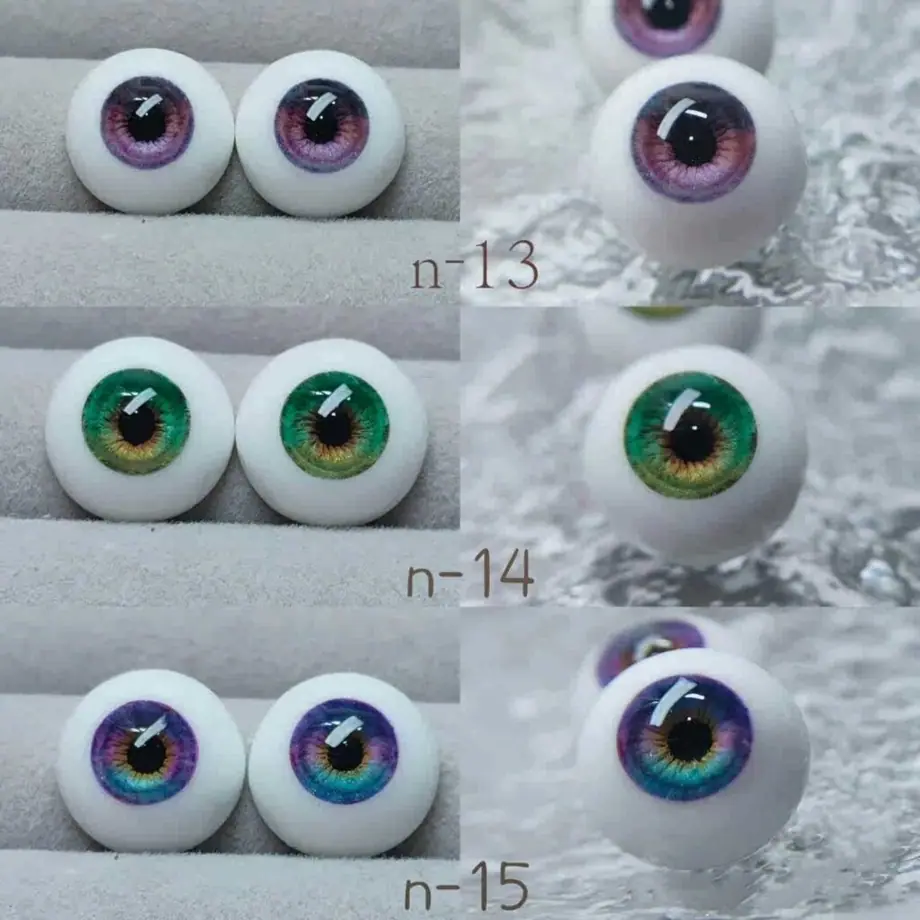
BJD eyes come in different materials — resin, glass, or acrylic — each with varied aesthetics and light reflections. Resin eyes (commonly used by custom artisans) offer vibrant colors and artistic depth.
When choosing eye materials, consider:
- Transparency and light capture
- Color vibrancy
- Compatibility with your doll’s aesthetic
Section 2: Tools & Materials You’ll Need
Here’s what you’ll prepare before installation:
- Eye Putty / Silicon Putty: A non greasy, removable putty made specifically for BJDs holds eyes securely without staining.
- Tweezers or Soft Silicone Tools: For gentle eye positioning without scratching resin.
- Eye Cups (optional): A small cup inside the head to help keep eyes aligned — often used in photography or frequent repositioning workflows.
- Clean Cloth: To keep eyes and socket dust-free.
Avoid household adhesives like hot glue unless you never plan to change the eyes — glue can be permanent and damaging.
Section 3: Step-by-Step Installation
3.1 Step 1: Head Access
Depending on the sculpt, remove the head cap or entire head. Most BJDs have either:
- Head cap (removable top section)
- Full detachable head
Work slowly, especially with elastic-strung BJDs, to avoid elastic distortion.
3.2 Step 2: Eye Position Prep
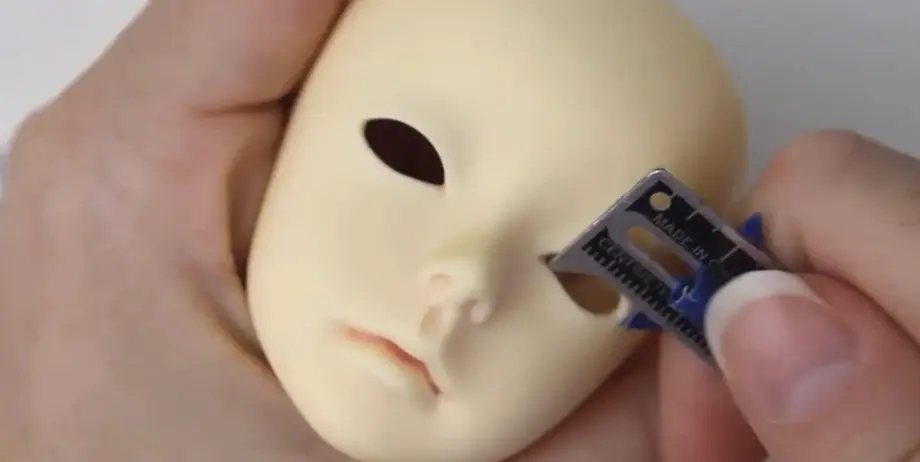
Inspect the eye sockets. Ensure they are clean and free of dust. If your doll came with eyes already installed, you can remove them by gently peeling away old putty.
3.3 Step 3: Putty Placement
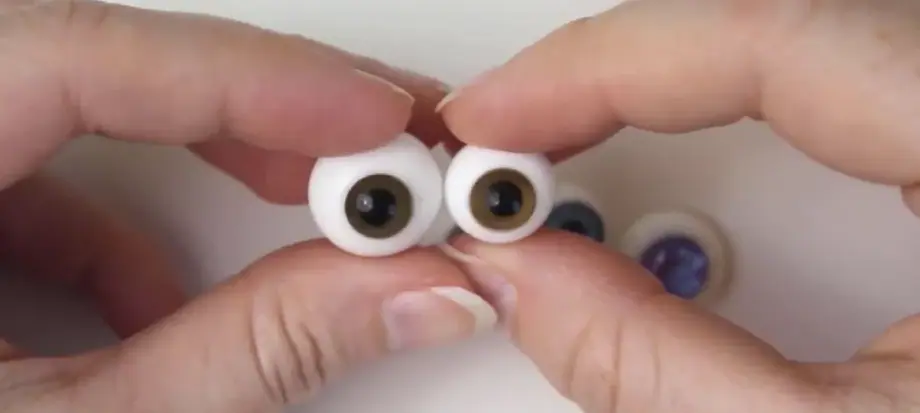
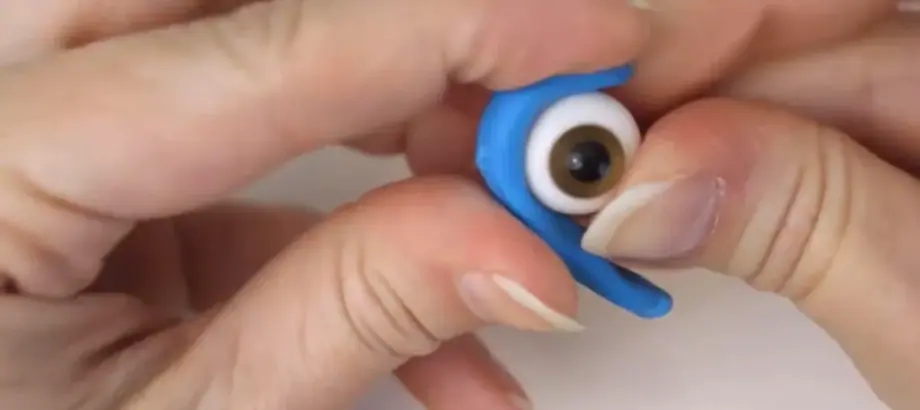
Take a small amount of eye putty and roll it into a thin “ring” (like a donut). This go-around helps hold the eye’s rim against the back of the eye socket.
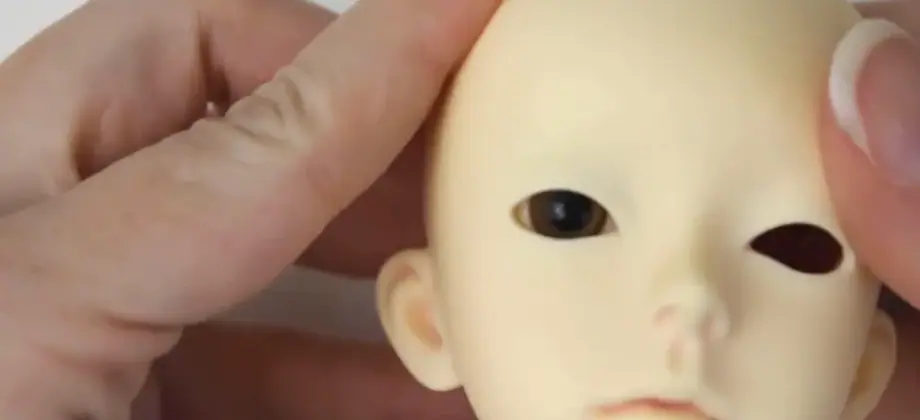
3.4 Step 4: Inserting the Eye
Holding the eye by its edge (not by the iris), press the back of the eye into the socket so that the putty fills the space behind it. Use a silicone tool or tweezers to adjust so that the eye:
- Sits centered
- Faces straight forward (or slightly angled, per your design)
Take breaks to view the eye from the front to confirm symmetry.
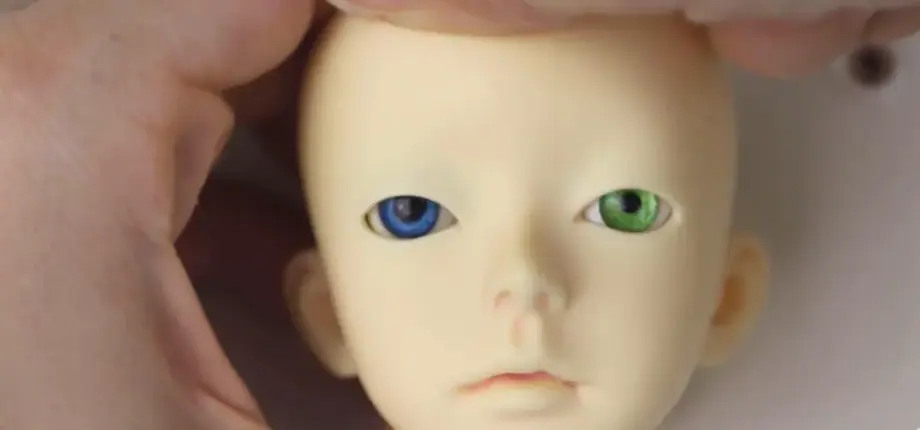
3.5 Step 5: Final Positioning
Once both eyes are placed and aligned to your liking, gently return the head cap or re-string the head body as needed.
Section 4: Tips & Common Mistakes
4.1 Avoid Greasy Putties
House putties (like generic Blu-Tac) can leave residues that stain resin. Always use doll-safe putty designed for BJD eyes.
4.2 Check Eye Symmetry Often
Adjusting eyes is easiest when the head is off; shifting eyes after reassembly is harder.
4.3 Handle Eyes with Care
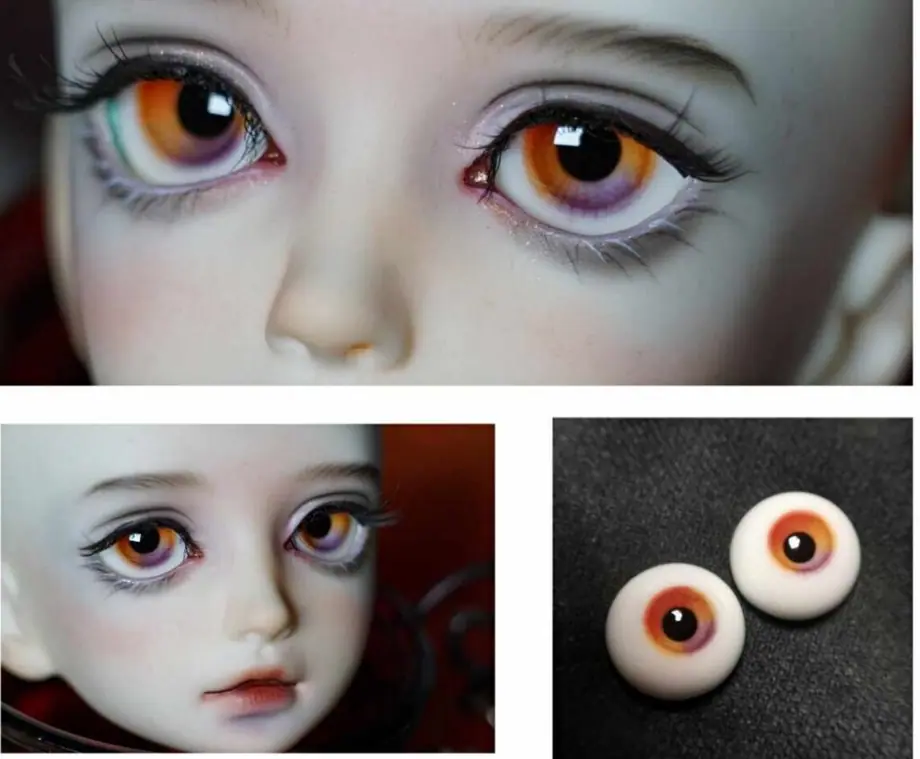
Avoid touching the front surface — fingerprints or scratches will show in photos.
Section 5: Maintaining Eye Aesthetics
Once installed, BJD eyes still deserve care:
- Avoid direct sunlight: Prolonged UV exposure can cause discoloration.
- Replace putty periodically: Over time, putty can lose grip.
- Clean with microfiber cloth: Remove dust regularly, never alcohol or solvents.
Conclusion
Installing BJD doll eyes is a precise process that rewards patience and proper materials. With the right sizing knowledge and installation technique, you’ll achieve flattering, lifelike eye placement that enhances your doll’s personality and photographic presence.
Premium BJD Eyes, Crafted Without Compromise
At Knewland, we specialize in premium custom BJD eye sets crafted with artisan precision and a wide range of styles — from realistic human-like eyes to dramatic fantasy and animal designs. Our eyes are handmade by skilled artists and are available in multiple sizes (2 mm to 24 mm) and pupil options to match dolls of all scales.
Whether you’re a seasoned collector or just getting started, choosing the right eyes can transform your doll’s entire look. We also offer expert guidance on sizing and aesthetic matching to ensure your purchase fits perfectly and looks stunning from every angle. Explore our curated collections and discover high-quality resin eyes that catch light beautifully, enrich expression, and stand up to display and photography. Visit https://knewland.com/ today to find the perfect eye pair for your BJD and bring your character’s gaze to life.